A dripping faucet in sink can be a frustrating issue. The constant sound of water can disrupt your peace at home. More importantly, it wastes water, leading to higher bills and environmental concerns. Fixing a faucet in sink is often simpler than many homeowners believe. With basic tools and a little patience, you can tackle this problem yourself.
Understanding how to fix a faucet in sink requires some knowledge of its components. Each type of faucet, whether compression, cartridge, or ball, has unique parts. Wear and tear over time can lead to leaks or dripping. Often, a simple worn-out washer or O-ring can cause these annoying drips. Recognizing the source of the problem is the first step toward a solution.
Taking action to fix a faucet in sink not only saves money but also enhances your home’s comfort. However, many may hesitate, fearing they might make the issue worse. While it is understandable to worry, proper steps and instructions guide you through the process. Embrace the challenge and learn from any mistakes. In the end, a well-fixed faucet can bring satisfaction and a sense of accomplishment.
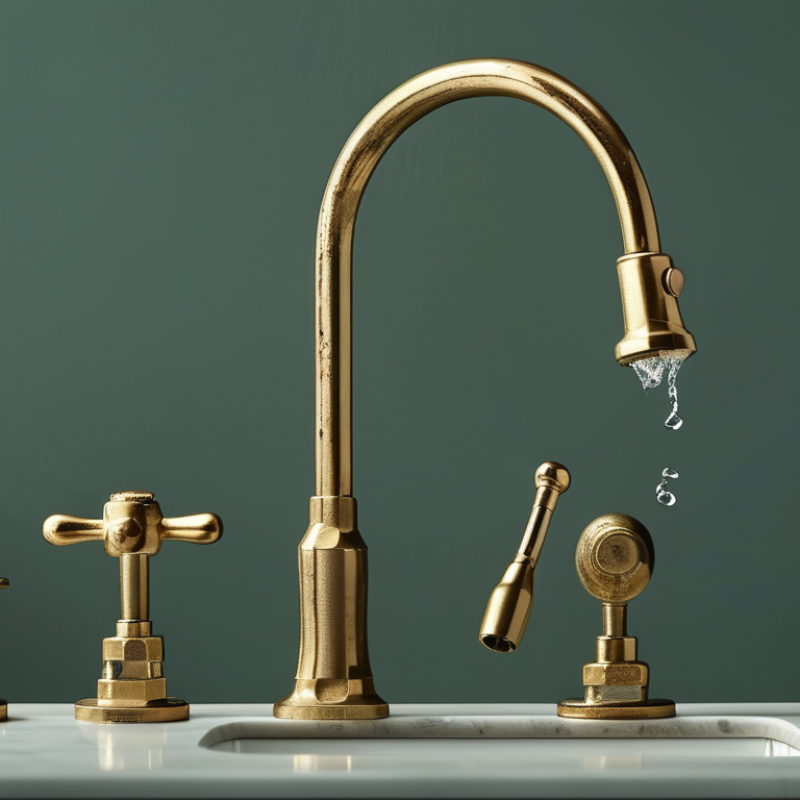
Identify the Type of Faucet and Problem Causing the Drip
Identifying the type of faucet is critical in fixing a dripping sink. There are mainly four types: compression, cartridge, ball, and ceramic disc. Each type has distinct mechanisms that could cause leaking. For instance, compression faucets often drip due to worn washers. Inspect the faucet carefully. If water seeps around the handle, it could indicate an issue with the O-ring.
Next, focus on the problem causing the drip. A simple examination can reveal the culprit. Look for mineral buildup or corrosion. This often contributes to faucet leaks. If the faucet is old, it may need a complete replacement. However, if it's relatively new, replacing washers or O-rings might be an easy fix.
Tips: Check the faucet's base and handles for signs of water damage. This can help pinpoint the issue. Consider turning off the water supply before starting repairs. Always have replacement parts on hand to avoid delays. Regular maintenance can prevent drips from becoming a larger problem.
Remember, even DIY repairs have risk factors. Don't hesitate to seek professional help if unsure. Mistakes in faucet repairs can lead to more significant issues.
Gather Necessary Tools and Materials for Repair
When fixing a dripping faucet, gathering the right tools and materials is essential. Start by collecting a pair of adjustable pliers and a flat-head screwdriver. You’ll also need a Phillips screwdriver for screws that may be hidden. A wrench will help with tightening or loosening various components. Don't forget the replacement parts, such as washers or O-rings, which are often the culprits for dripping. These small pieces are crucial in ensuring a complete repair.
Consider having a towel nearby to catch any excess water. A bucket can also be handy to capture drips during the process. Sometimes, the tools may not work as expected. It may take several attempts to find the right fit for screws or fittings. If you have a difficult faucet type, it’s wise to research the specific parts needed. Some faucets require specialized tools not commonly found in a household toolbox. This might cause delays but is part of the learning experience. Always double-check that you have everything before beginning the repair, as an unexpected trip to the store can be frustrating.
Dripping Faucet Repair: Material Usage Statistics
Disassemble the Faucet to Inspect Internal Components
When faced with a dripping faucet, the first step is to disassemble it and inspect its internal components. This task might seem daunting, but it's manageable with a little patience. Start by shutting off the water supply to prevent any accidental flooding. Next, use a screwdriver to remove the handle. This step often requires a bit of effort. It’s not uncommon to encounter stubborn screws or handles that won’t budge easily.
Once the handle is off, carefully take apart the faucet body. Look for seals, washers, and O-rings. These small parts can wear out over time, leading to leaks. If you notice any signs of damage or wear, it's wise to replace them. Be cautious when inspecting these components; some may be difficult to reach. You might find dirt or mineral buildup that could also contribute to the issue. A thorough cleaning could be necessary.
As you explore the internal structure, keep an eye out for corrosion or unusual wear patterns. This could indicate deeper issues. Document your findings or take photos to refer back to if needed. It’s easy to lose track of parts during reassembly. Remember, these minor details are often the culprits behind your dripping faucet. Take your time to analyze each part thoughtfully.
Replace or Repair Worn-Out Parts to Stop the Drip
A dripping faucet can waste significant water. Reports show that a single drip can waste over 3,000 gallons a year. Addressing this issue often involves replacing or repairing worn-out parts. The most common culprits are washers, O-rings, and cartridges. These components can degrade over time due to constant water pressure and usage.
When replacing these parts, it’s essential to choose high-quality materials. Cheap replacements may save money initially, but they often fail quickly. This can lead to further leaks and additional costs down the road. A professional plumber can offer valuable insights into reliable brands and the right parts for your specific faucet model.
Inspection is critical. Look for discoloration or fraying on parts. Ensuring a snug fit can also prevent future leaks. Sometimes, the underlying plumbing may also contribute to the problem. If repairs don’t stop the drip, reevaluation of the plumbing system might be necessary. Regular maintenance checks can help catch these issues early, avoiding larger headaches later.
Reassemble the Faucet and Test for Leaks or Dripping
After you’ve replaced the worn-out parts of your faucet, it’s time to reassemble everything carefully.
Begin by reversing the disassembly steps. Make sure you align all components properly.
Misalignment can cause leaks later. Hand-tighten the screws, but don’t overdo it.
Too much pressure can damage gaskets or valves.
Next, reconnect the faucet to the water supply. Once connected, turn on the water supply slowly.
This is crucial to avoid sudden surges that could lead to leaks.
Check for any dripping or unusual sounds. If you notice a drip, it might indicate an improper seal.
In this case, disassemble it once again. Take a moment to inspect the gaskets or washers.
Sometimes, they may appear intact but can be faulty.
After you are confident everything is secure, test the faucet.
Run the water and observe closely. This is your chance to catch any leaks.
Even a small drip can signal trouble. If all is well, take pride in your repair skills.
But remember, perfection takes practice. Each attempt brings you closer to mastery.
Keep learning from each experience.
FAQS
: You’ll need adjustable pliers, flat-head and Phillips screwdrivers, a wrench, and replacement parts like washers.
Having everything ready prevents unexpected trips to the store and helps streamline the repair process.
Always shut off the water supply to avoid accidental flooding during the repair.
You may need to apply extra force or try different tools if screws are difficult to remove.
Look for damaged seals, worn washers, or O-rings. They often cause leaks.
A thorough cleaning can help resolve the issue and prevent further leaks.
Document your findings or take photos. It helps when reassembling the faucet later.
It may take several attempts to find the right fit. Patience is key in this process.
Worn washers or damaged O-rings are frequent culprits. Inspect them carefully.
Yes, repairing can be challenging. It’s an opportunity to learn, even if it takes longer than expected.
Conclusion
When dealing with a faucet in sink that keeps dripping, the first step is to identify the type of faucet and determine the underlying problem causing the leak. Once you understand the specific issue, gather all the necessary tools and materials for the repair process.
Next, disassemble the faucet to inspect its internal components, allowing you to pinpoint any worn-out parts that may be contributing to the drip. After identifying the damaged components, you can either replace or repair them as needed. Finally, reassemble the faucet carefully and test it to ensure there are no more leaks or dripping, ensuring a fully functional and efficient faucet in your sink.

 YiGeng